-
-
-
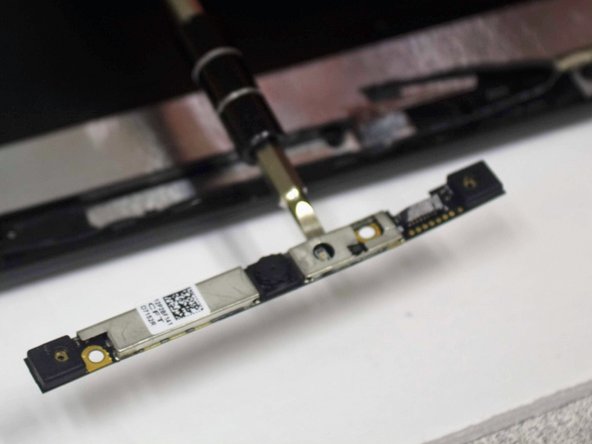
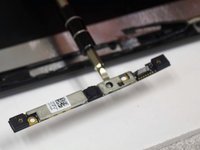
Unplug the connector. It is located on the top of the screen attached to the camera assembly.
-
-
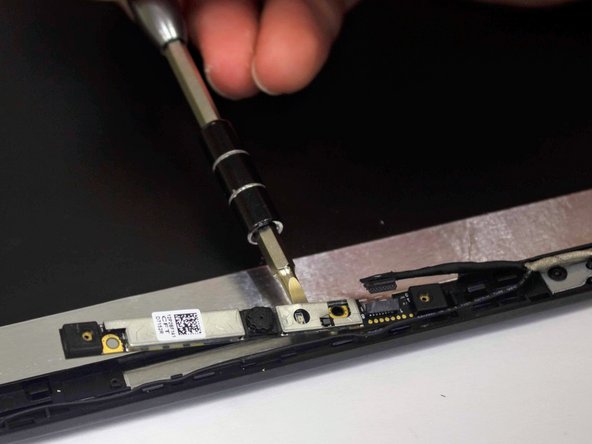
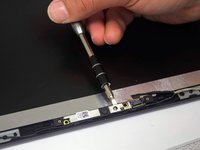
Tool used on this step:Flathead 3/32″ or 2.5 mm Screwdriver
$5.49-
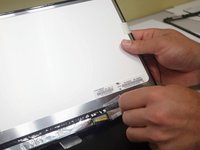
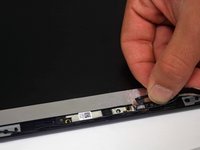
Use the 3.0 flathead to lift up the silver camera strip.
-


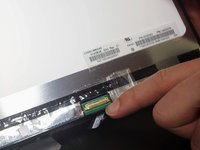


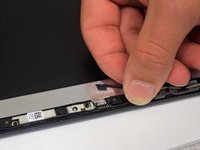
Unplug the connector. It is located on the top of the screen attached to the camera assembly.


Flathead 3/32″ or 2.5 mm Screwdriver

Use the 3.0 flathead to lift up the silver camera strip.